I noticed that the last post I made about the progress with Dubbeltjie was in October of 2012 - wow, just over a year ago. It is not that I haven't made any progress it is simply time - who has time to update a blog on a daily basis, work all day and work on the Land Cruiser - somewhere along the line something was going to suffer and unfortunately it was the blog.
Rather than delve into a description of my progress I thought I would let the photos below tell the story. I still have a long way to go - but the exciting part is we are getting close to the point where I will begin reassembling the old lady. I prefer the building to breaking down!
I removed all the body parts and took them to the painter. There were many panels that needed to be replace - like the floor boards. These have been replaced and welded. Grinded smooth and painted with a rust proof coat and sealer. In places where the rust was bad I purchased new panels - new if I couldn't find them new I bought used panels. Sand blasting the yellow Rhino lining off the body was tough - it took three times as much glass beads than the company had estimated and 3 times as long. Rhino lining hides hidden flaws such as rust - do not paint anything with Rhino Lining it will damage the body over the long term.
 |
| Removing the petrol tank |
 |
| Body off to be sand blasted |
 |
| On the trailer ready for sand blasting and then painting |
 |
| Doors after sand blasting |
 |
| The Rhino lining hid a lot of flaws like rust |
 |
| More rust hidden by Rhino lining |
 |
| More rust |
 |
| Removing springs, diff, prop shafts etc. |
 |
| Rust - yikes! |
 |
| More rust |
 |
| ...and more rust |
 |
| Engine is on its way out |
 |
| Welding of new floor boards |
 |
| Body work - lots to be done |
 |
| Engine is out! |
 |
| Add caption |
 |
| In the process of removing diffs |
 |
| Front hub |
 |
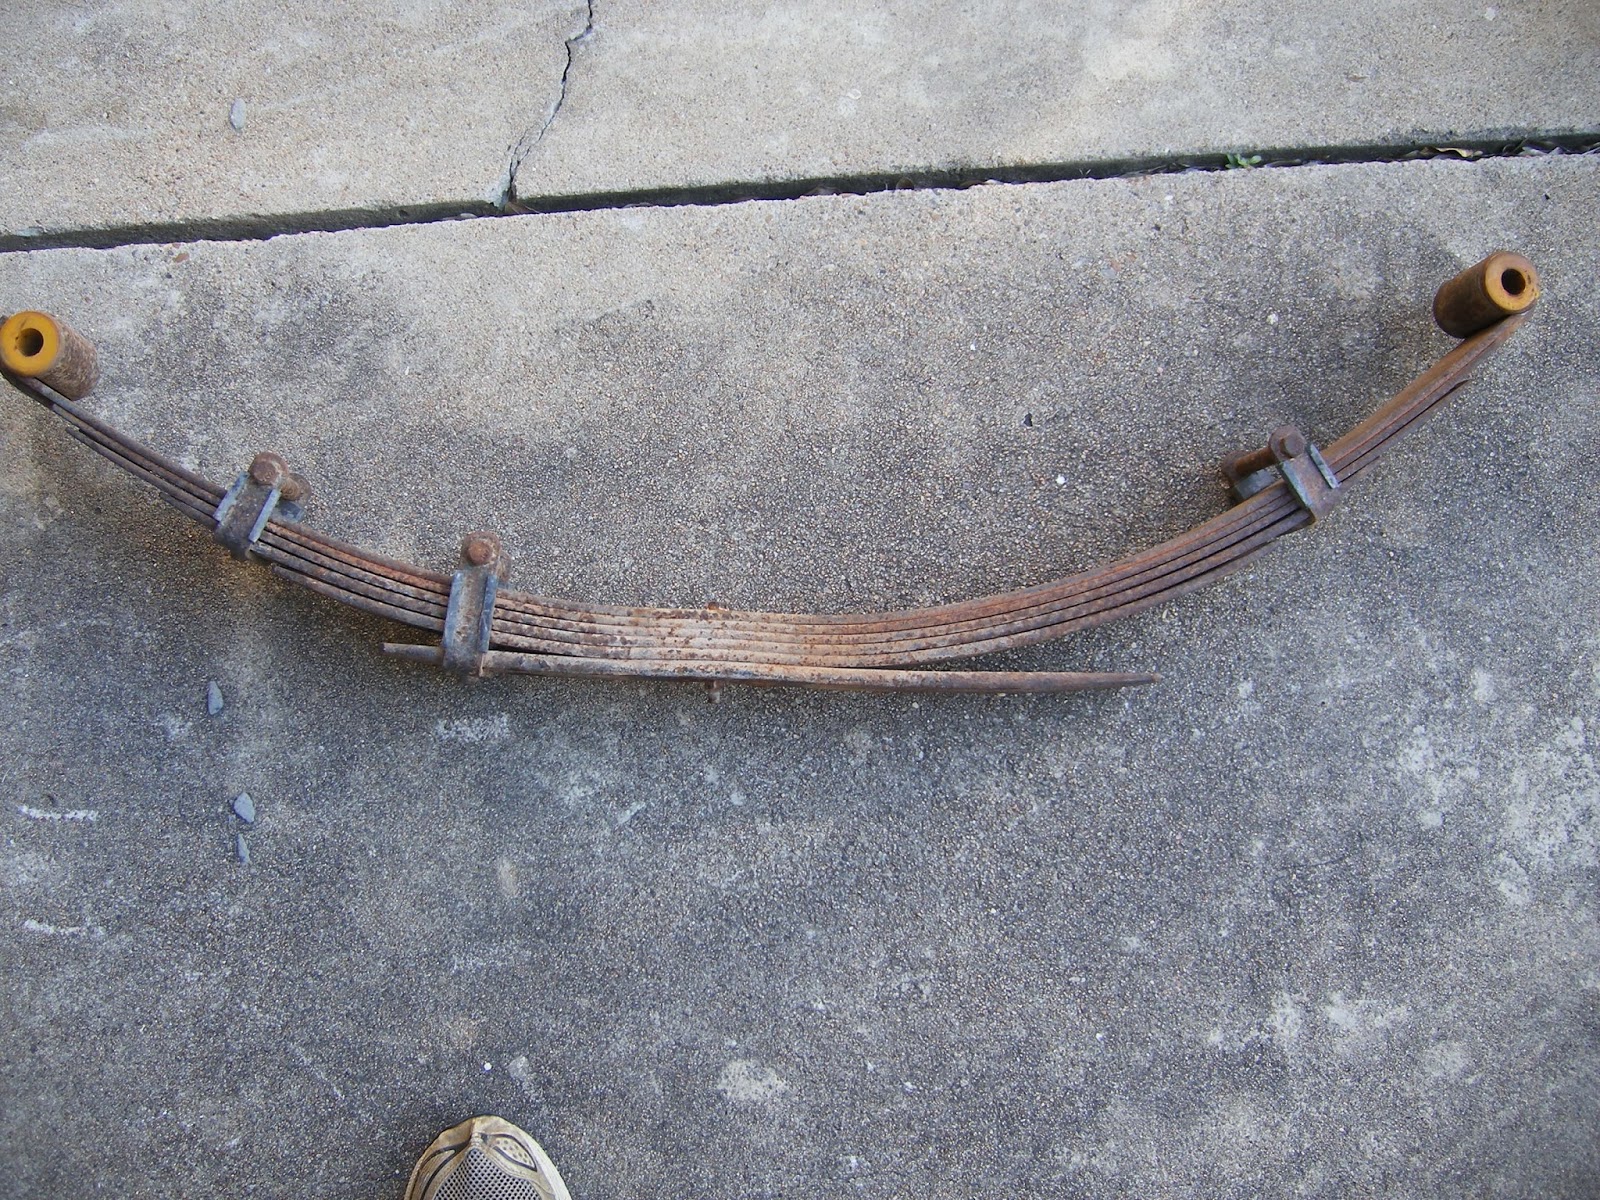
| Rear springs |
 |
| Rear springs |
 |
| Front brakes |
 |
| Messy work.... |
Messy work removing the front hubs. Although they were in great shape I had to remove them to sand blast and paint the diffs. I also plan on cleaning and and replacing all the slave cylinders for the brakes.
 |
| Everything is document by taking photos |
 |
| Looked in great shape |
 |
| Rusted chassis |
On the chassis - the rust damage to the rear of the chassis was too severe to repair so I searched for a new used one. Classic Cruisers in Colorado had a 1979 chassis which everyone proclaimed would work with my 1981 body so I bought it. They shipped it down and I had it sand blasted and powder coated. Problem is the earlier model '79 chassis' are more like '78's so it is not an exact match. After much research and scrambling I found the big differences are the suspension/springs changed in '81, the tank mounts are different and the gear box cross member is different. So I resigned myself to the fact that it would work and decided to move forward with the '79 chassis.
I must admit since I sand blasted and powder coated the chassis it looks great. I can't wait to start rebuilding - anyone want an old 1981 chassis? The chassis that Classic Cruisers sold me was in excellent condition to start with so I am very chuffed!
Check out the discussion on the
www.ih8mud.com forum:
Does a 1981 FJ40 body fit a1979 frame
 |
| New Chassis - sand blasted and powder coated. |
 |
| Getting ready to grind the rust off the springs |
Who thought springs would be a challenge - right. Just clean 'em, paint 'em and put 'em back - right? Not so fast. I took them to a spring company but they dealt mostly in large truck springs so they were of little help....this after 4 weeks.
After talking with many experts and companies I realized the only way to do this was to do it myself. I cannot describe the work better then KLF on the
www.ih8mud.com web site. This is a great resource and guys like KLC make it a pleasure - everyone is ultra helpful! Here's the link to the forum..
click here
I have done this twice. It's a thankless, messy, exhausting job, but the only way to do it right is to do it yourself.
Go get your springs, and on the way home get yourself a couple of knotted
wire wheels for your
angle grinder,
a face shield, goggles (yes you want both), and some heavy gloves. Stop
at a John Deer dealer and get a quart of SlipPlate paint and a strong
brush.
Put a C-clamp on the spring next to the center pin, remove the pin, then
slowly open the C-clamp. Pay attention to how the spring is assembled, I
recommend doing one spring at a time so you don't get the leaves mixed
up, take photos and notes. Carefully pry apart the clamps that hold the
leaves in alignment (throw away the old rusty bolts, get new ones). Then
carefully pry off the little pads at the ends of the leaves, save, they
are important.
Wear a heavy shirt and long pants.
Wire wheels
in grinders throw little wires at high speed, you don't want to go have
one pulled out of you eye or have to yank them out of your skin with
pliers. Wear a dust mask. I preferred clamping the leaves in a Workmate
as I did them, so they sat still.
Once cleaned up (congrats, you've earned a beer!), slather the leaves
with the SlipPlate. It's like painting with mud. Be sure to stir up the
can before and during.
Re-assemble. Take your wife and kids out to dinner with the money you
saved, they will be tired of listening to the grinder whine and you
cursing the sting of those wires.
 |
| Springs taken apart |
 |
| Springs after grinding and rust proofing. Took one day per set - grueling work |