I am proud that I am now have a fully restored rolling chassis with all hubs, brakes and brakes lines, wheels, springs completed and rebuilt. Every little nut, lock washer, washer and bolt has been de-rusted or replaced - every brake-line replaced or de-rusted.
 |
| Brakes calipers cleaned and ready for installation |
All new brake cylinder kits - genuine Toyota - installed front and back. I replaced some of the brake lines which turned out to be easier to do than expected. I bought the metric steel brake lines from my local parts store and purchased a brake line bending tool. Using the tool to bend the pipe worked like a charm.
Check out the "new" rolling chassis....I also had the rims power coated to the Toyota original gray color - they turned out great.
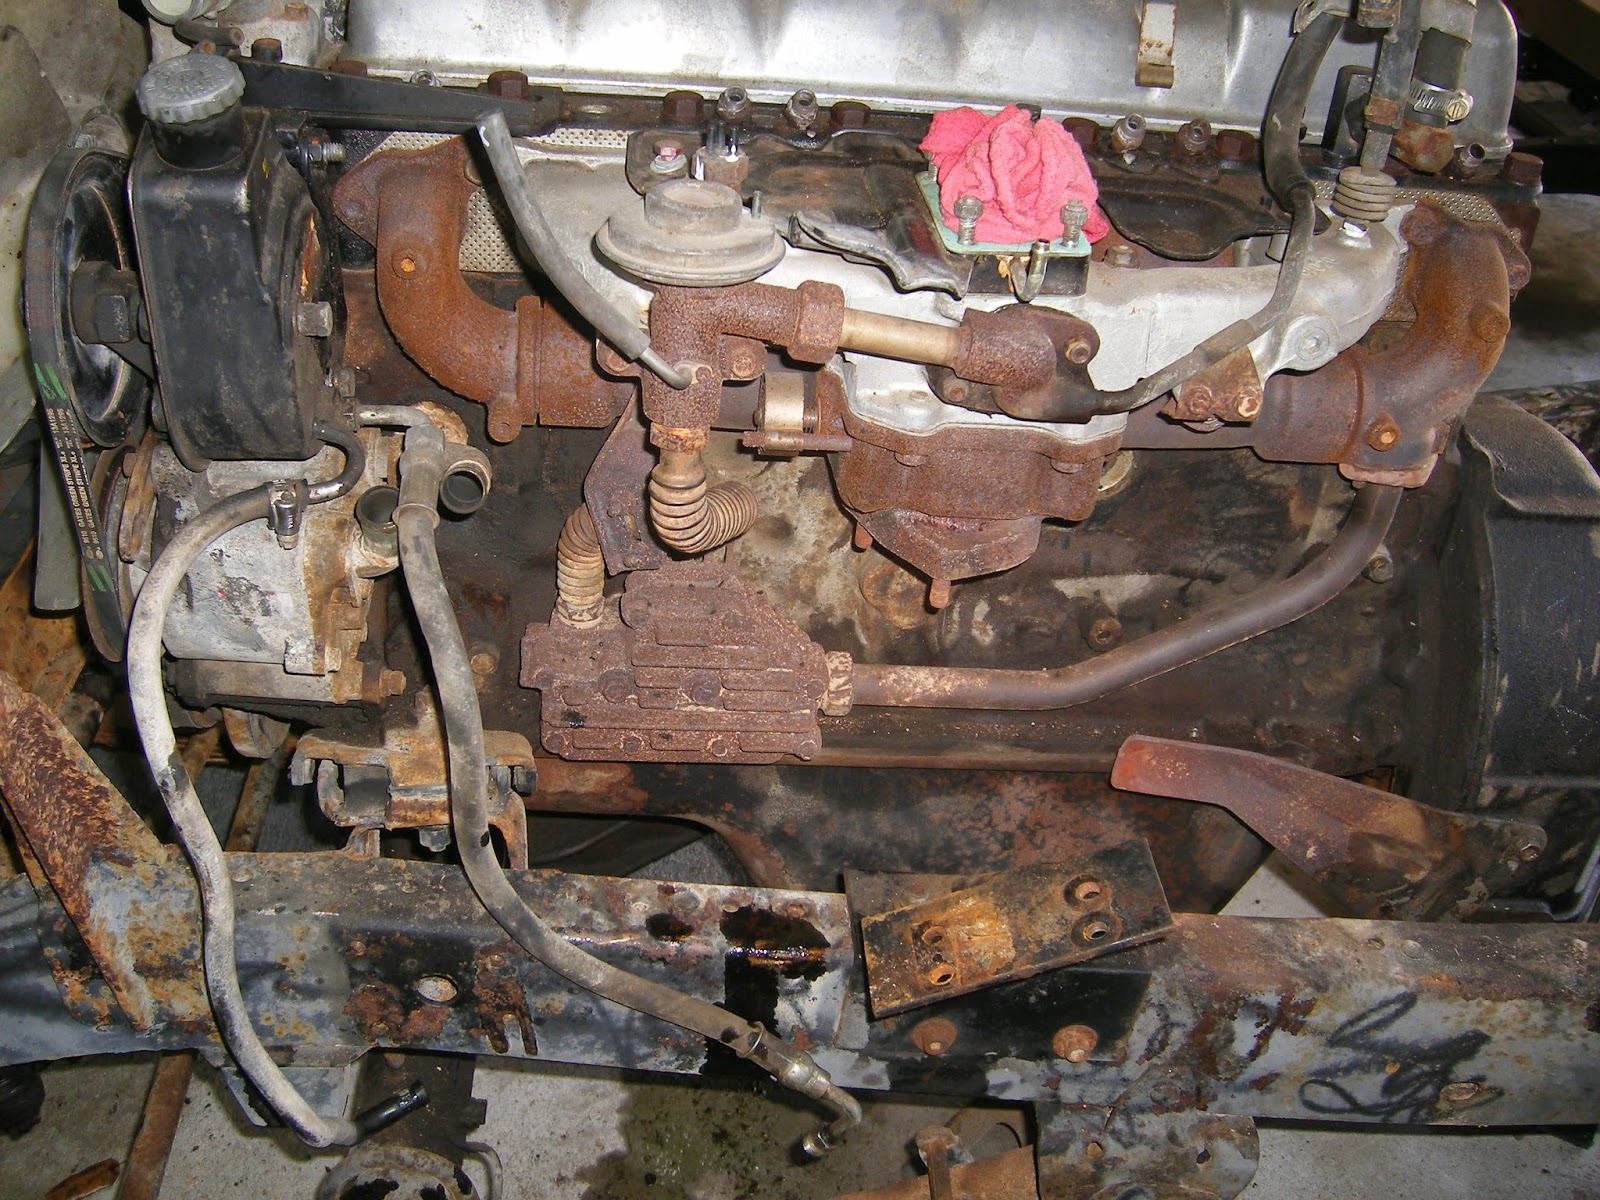
Over the last few weeks I have moved onto the engine. My goal is to strip it down completely so that it can be repainted. I also want to replace the main front seal as well as check the timing wheel to make sure that it is still solid - if not I will replace it while it is easy to access.
When the previous owner purchased Dubbeleltjie he had Daniel Edone of Wimberly Four Wheel Drive overhaul her from top to bottom. Daniel is well known in Land Cruiser circles and is a fundi on all things 4-wheel drive. He has since sold his business which was located in New Braunfels Texas. He did the following around 05/28/2005. Odometer reading at the time was 197,392 miles at time of purchase was 194,376.
New Parts:
- Exhaust manifold and gaskets
- Replaced belts and hoses
- New "e" brake cable
- New front brake pads and rotors
- New fuel filter
- New plug wires and plugs
- Flush brakes
- New rear main seal
- New clutch and bearings
- Resurfaced flywheel
- New distributor cap and rotor
- New Australian ABR Bull Bar
- New tow bar
- New tires
- Recovered front seat bottoms
- Adjusted valves
- New cover gasket
- New side cover gasket
- New sleaves
- New pinion seals (all 4)
- Replaced door gasket
- Replace mirrors
- Muffler repair by Ron Culler Auto
- Minor electronic tune
- Align front end
- Replace PVC
- Rings, bearing and valve job - includes resurfaced manifold, rings, valve guide, seals, hone cylinders, oil filter, coolant, spark plugs and gaskets
- Replaced knuckles seals, bearings, plus wheel bearing grease (both sides)
- Other parts: rear main seal, throw-out bearing, pilot bearing
- Replaced transmission transfer case seals
 |
| Hornets nest of vacuum hoses |
 |
| Engine exposed after removing the fender |
 |
| Making progress |


